As a Shopify seller, you're responsible for registering, collecting, and filing taxes. While the platform provides you with financial data, Shopify tax reports lack flexibility and are hard to put to direct use.
For instance, there's no native way how you can pull a sales tax report from Shopify that will include your tax totals by state. Or, if you're selling to European countries, VAT taxes on Shopify are not organized in a way that distinguishes taxable and non-taxable customers.
Understanding and properly remitting your taxes is of utmost importance, so it's always a good idea to consult with a specialist. But there are a lot of things you can do to make taxes on Shopify easier — for example, you can set up customized reporting in a tool like Mipler.
In this post, we'll explain what tax information Shopify gives you and how to work with it.
Just like with any ecommerce business, you'll need to deal with consumption taxes and income taxes.
The former ones, often called sales taxes, should be added to the order: they are paid by the end customer, but you're responsible for submitting and paying them to local jurisdictions.
The latter ones depend on your revenue: there are different income tax forms that vary by location and set different income thresholds that define how much you need to remit.
Depending on what audiences you're selling to, you might deal with:
US sales taxes. They are state-specific, so you'll need to learn each state's tax rules individually (they have different tax percentages and regard different types of products as taxable and non-taxable). However, there's no need to jump on it and register in each state.
Each state has a monetary or transaction threshold that defines your tax liability — it's called the economic nexus. If you pass the threshold in a particular state (for example, $100,000 in total sales in a year or 200 transactions), then you need to register in that state and file your sales tax from Shopify. It's vital to only register when you meet the nexus and collect taxes only after you register. The percentage of taxes will be counted automatically if you specify your taxable locations in Shopify settings.
VAT (value-added tax). You'll need to remit this type of tax when you're selling to customers in the EU zone or the UK. There are certain nuances that come with VAT: for instance, you need to charge it to EU customers but you don't have to charge it to business customers and European consumers outside the EU. VAT includes input taxes (paid to manufacturers or providers of products you sell) and output taxes (collected from customer payments and paid to the government). You need to set it up appropriately in Shopify settings (specify tax-exempt customers if you have any) and you're responsible for paying both parts of VAT at the end of each season.
GST (goods and services tax). It works similarly to VAT and is applicable in certain jurisdictions, for example, Australia and New Zealand.
All ecommerce platforms collect the data on your orders and finances but don't automate it. Unfortunately, you're not automatically getting a comprehensive Shopify sales tax report that highlights all the jurisdictions you have to pay to.
When you go to the Taxes report in Shopify, you can set a date range you want to analyze and export a .csv file with the data. What this report shows includes the following:
Basically, the major things you need from the report are dates, locations, and sales tax amounts. The problem is, it takes a lot of exporting and clicking around in a .csv file to get to the essence of what you need to file as Shopify sales taxes.
As we've mentioned, Shopify doesn't let you connect and automate different points of data. Here are the major issues that merchants face:
To create a consolidated monthly or yearly report that will give you more flexibility in how to arrange fields and filter data, you can use a Shopify reporting app like Mipler. It will do some Shopify tax calculation for you and let you modify the fields you need.
Here are a few examples of how you can drill down into your Shopify tax documents with Mipler:
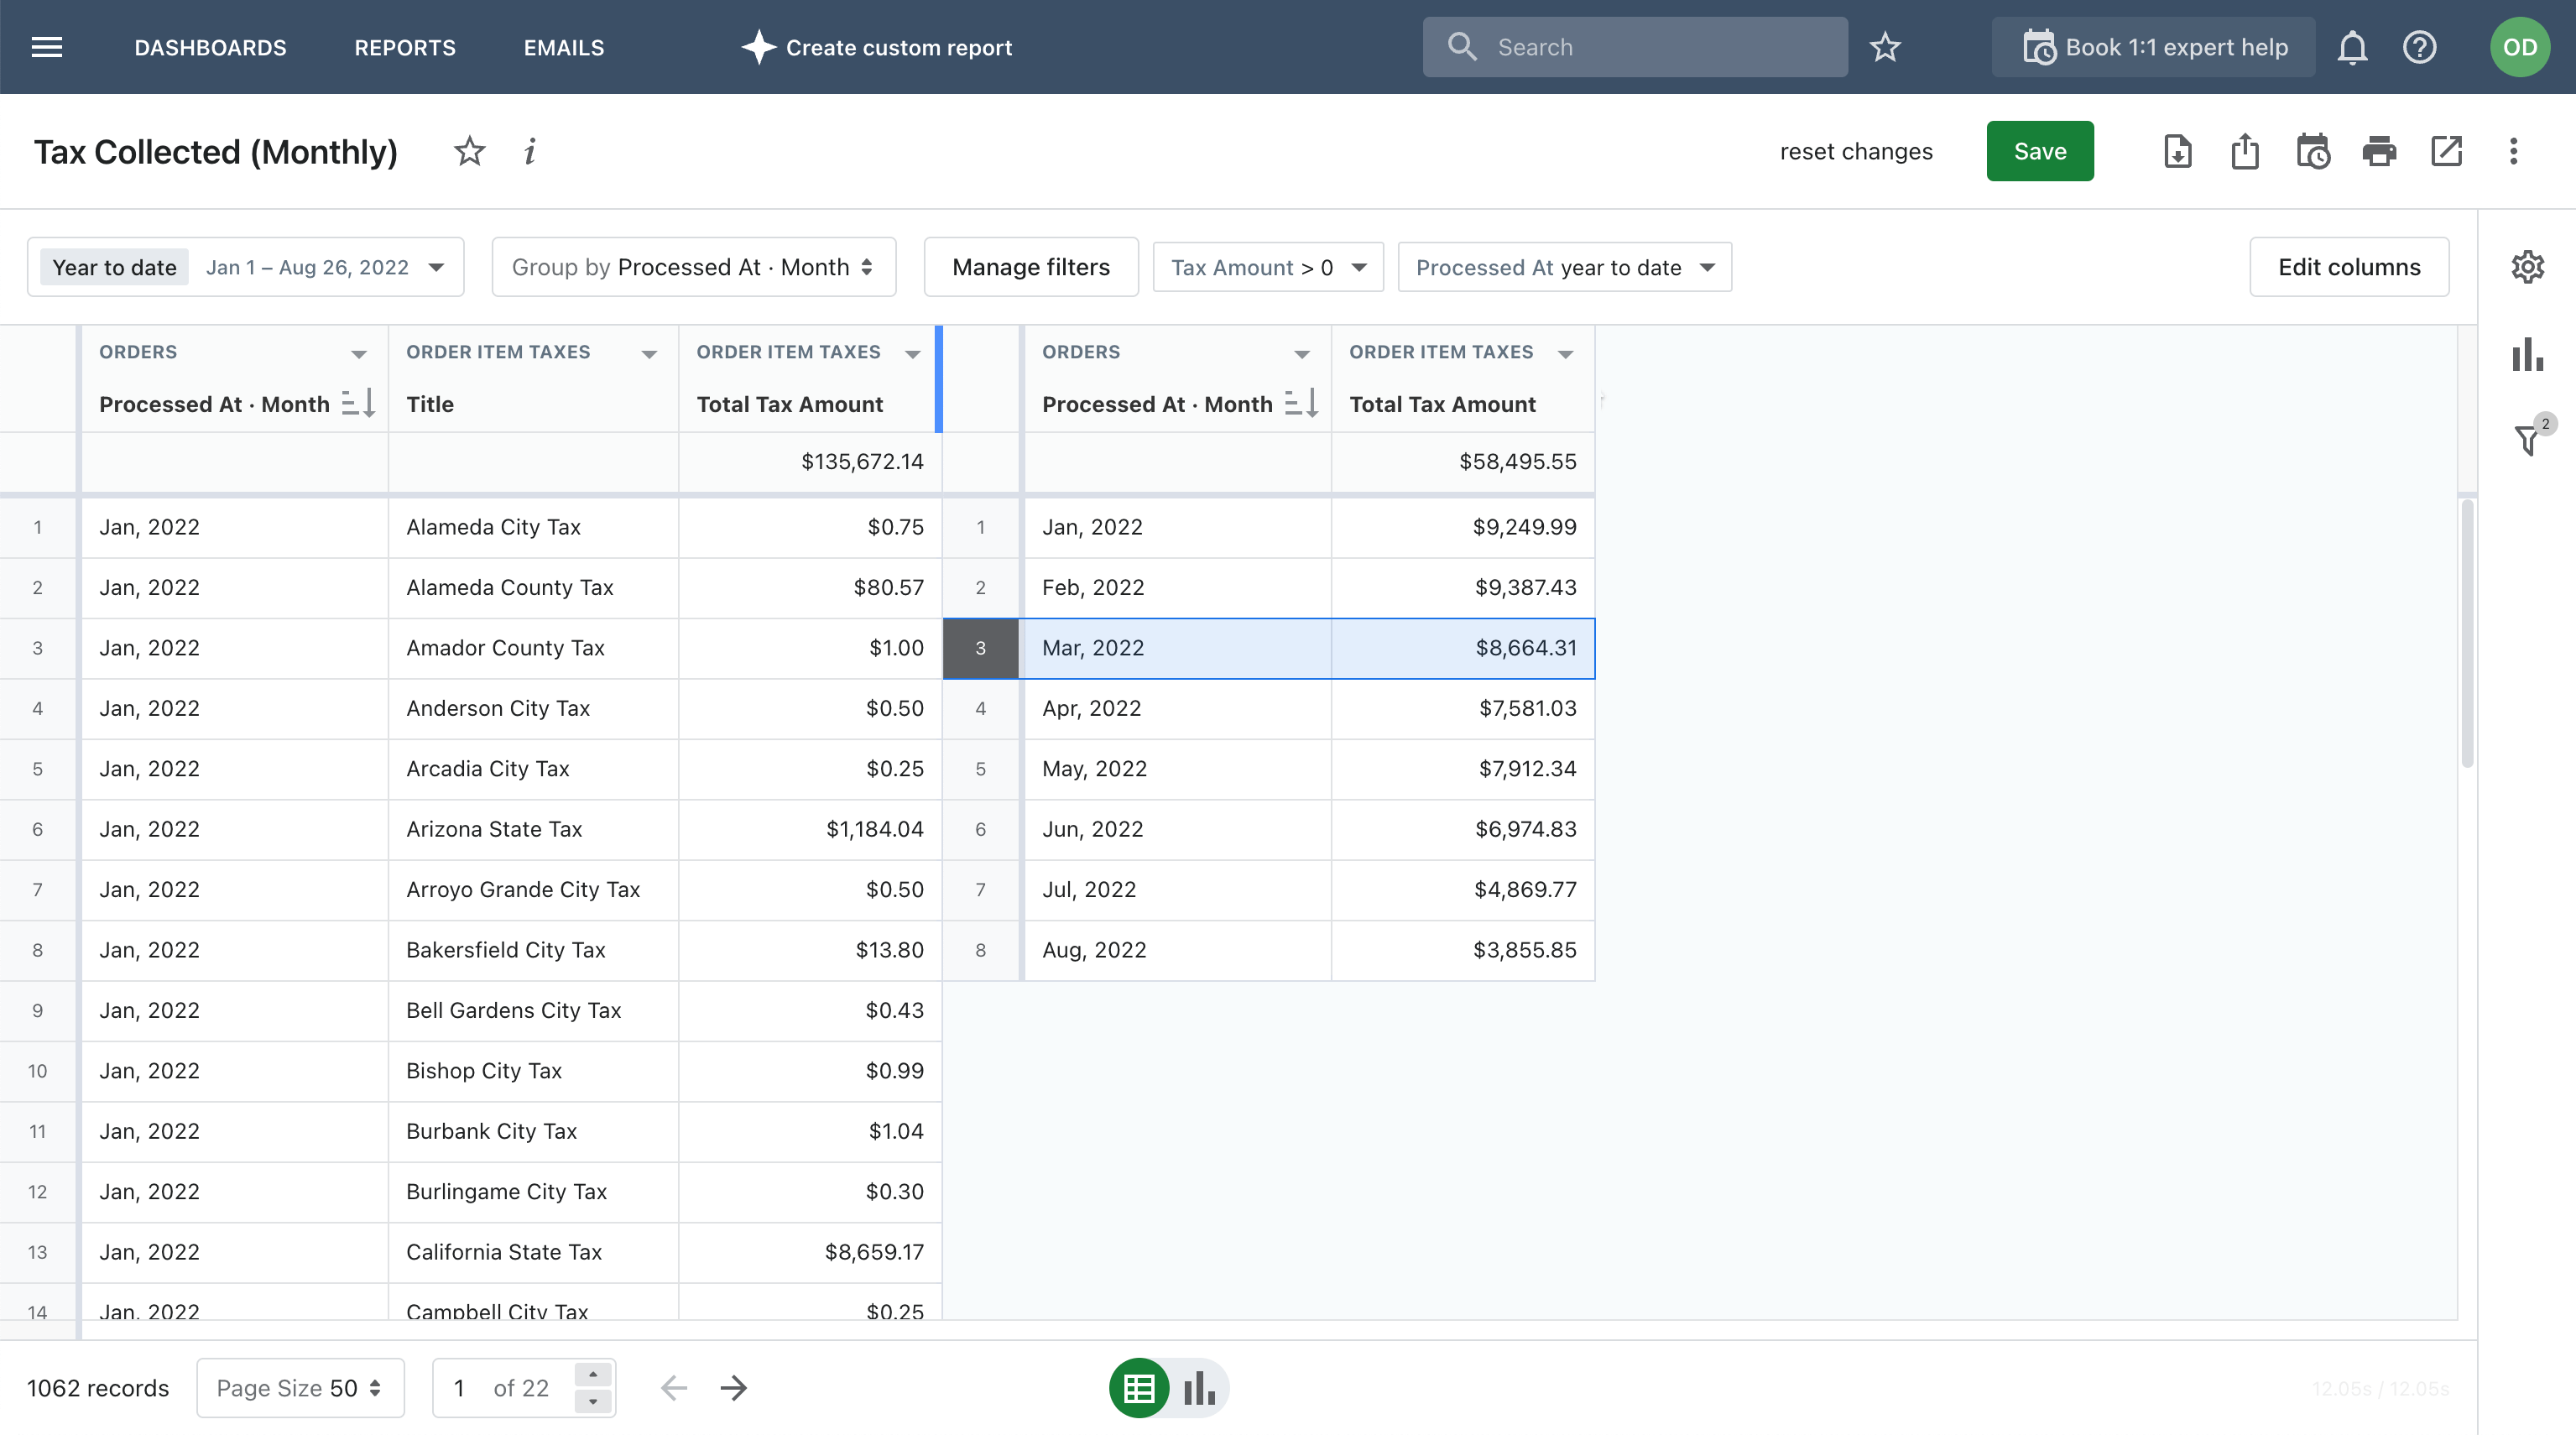
▷ You can have a breakdown of monthly taxable sales. As simple as that request might sound, Shopify makes it very hard to have that information at hand.

Similarly to a monthly overview, you can get one for a quarter, year, or any other period.
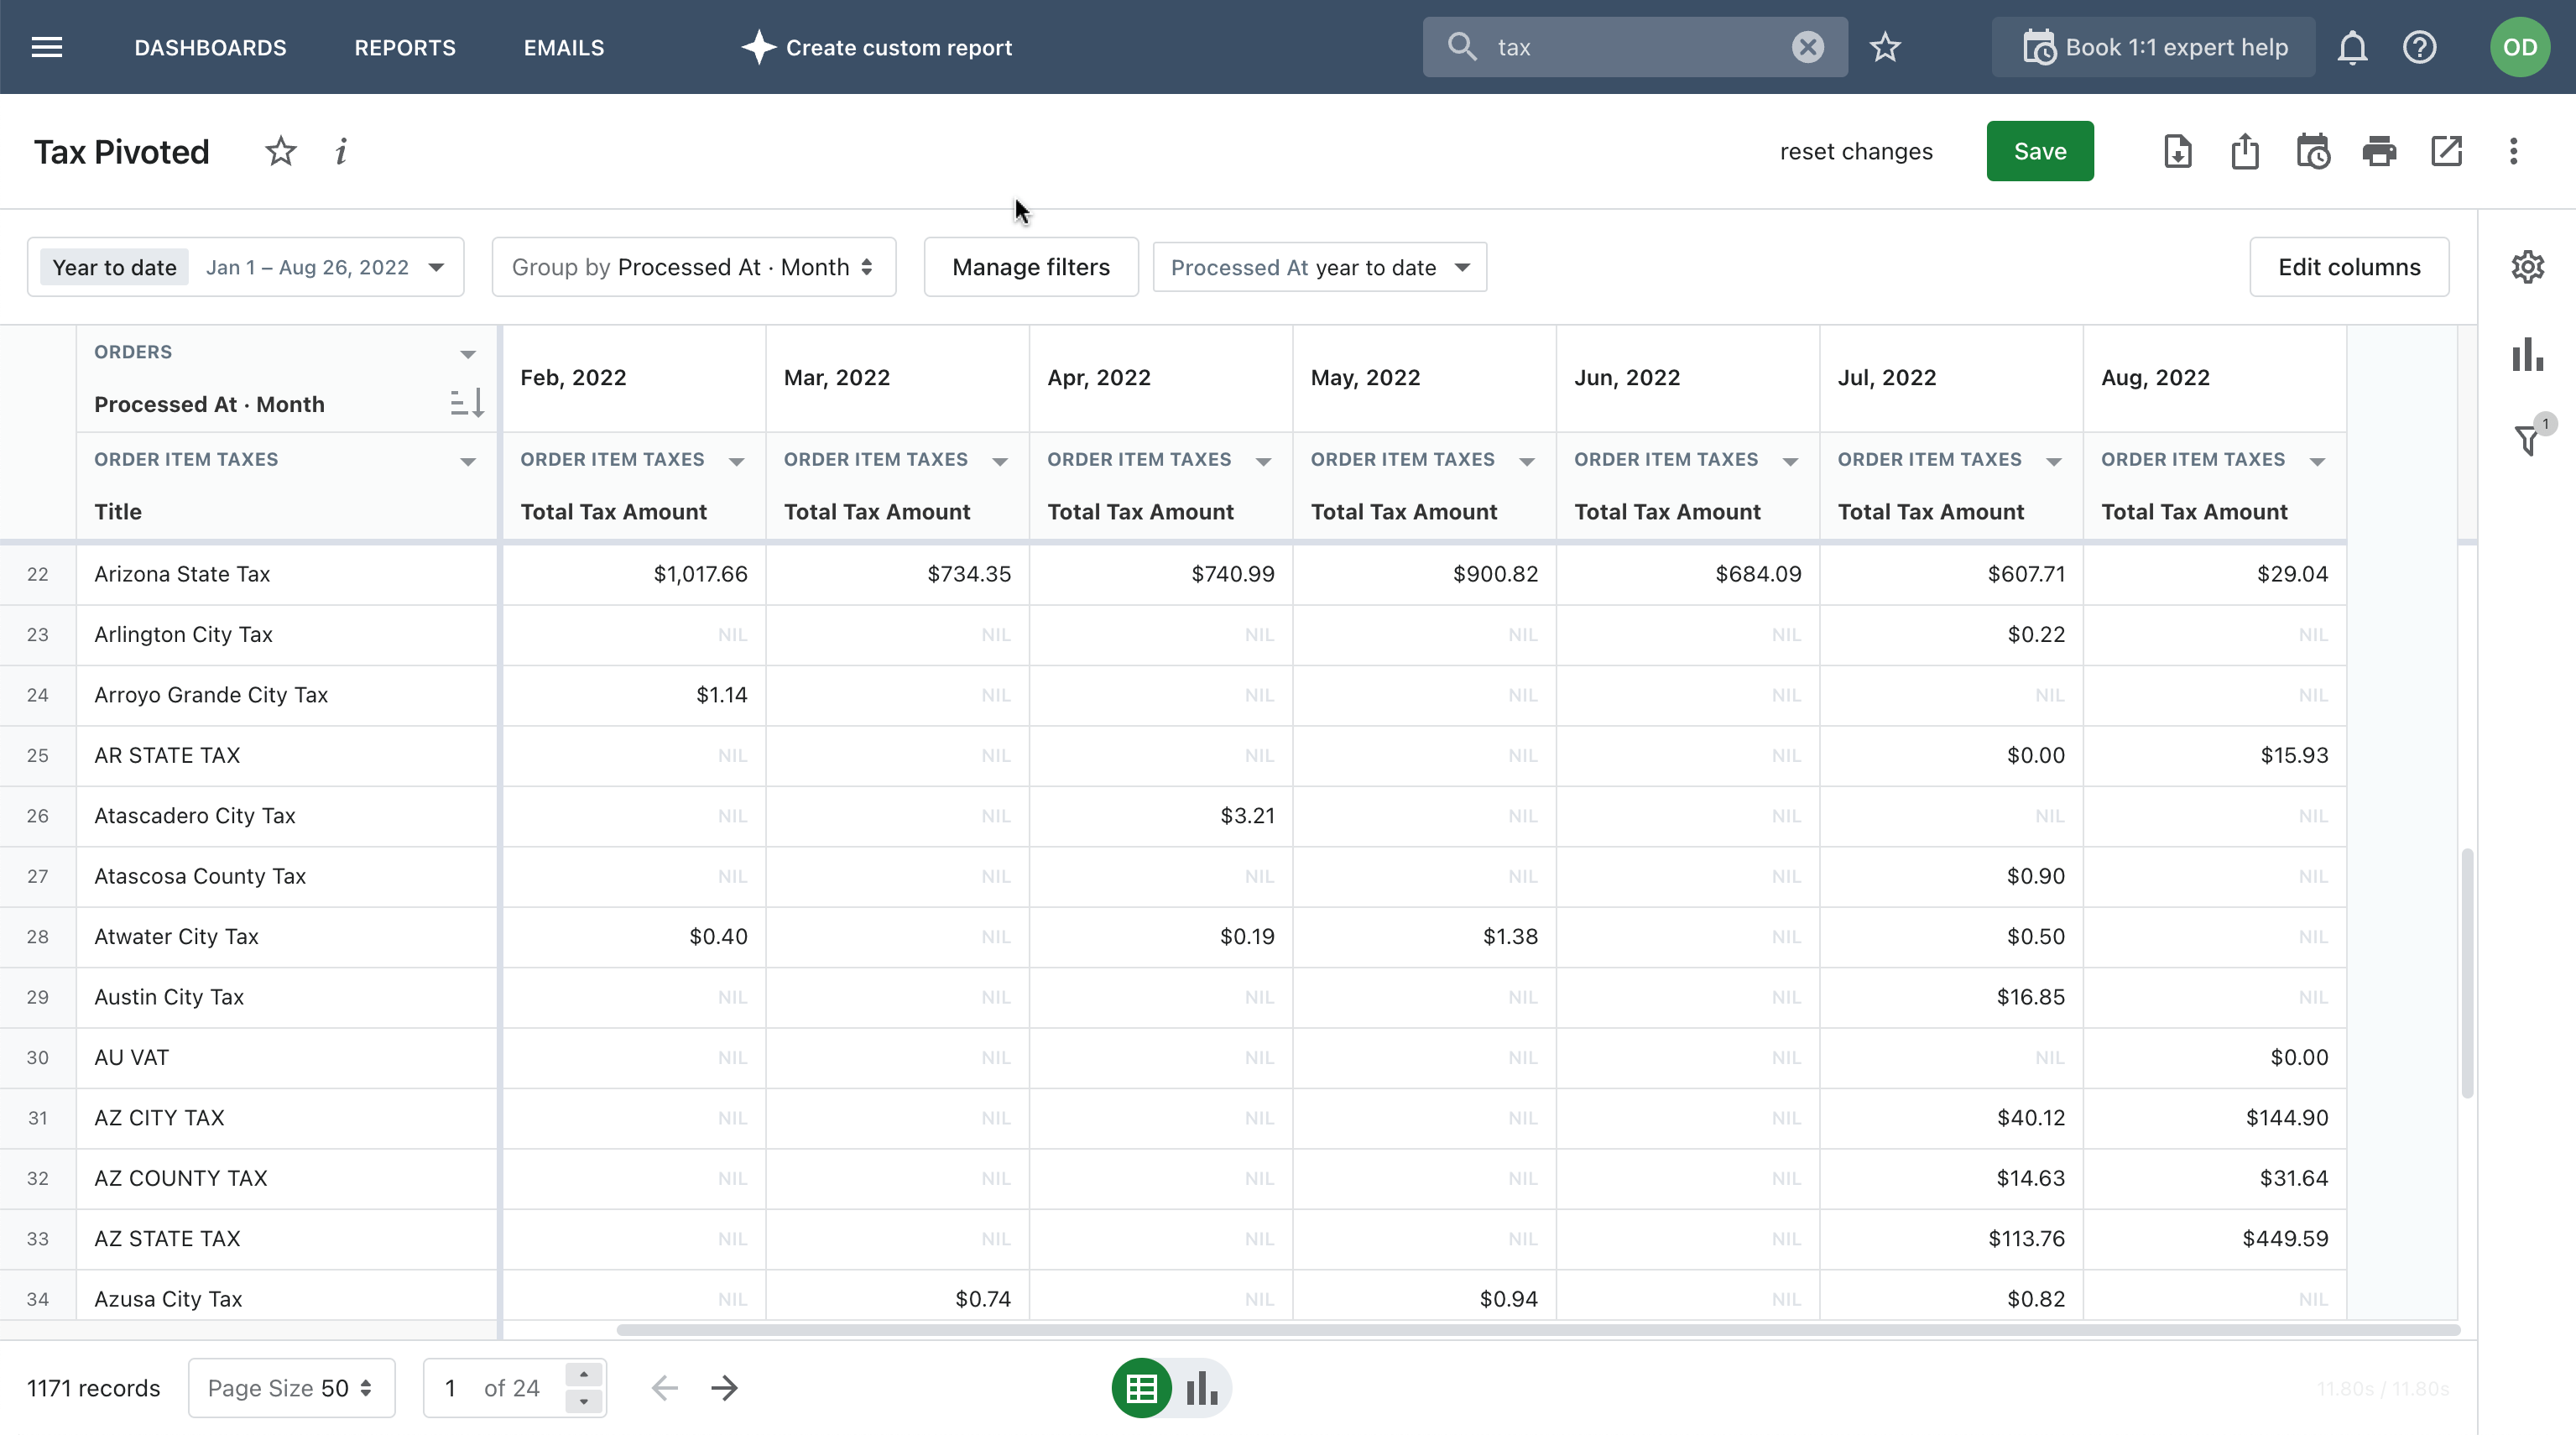
▷ You can view tax data consolidated by country or region, as well as for all locations together.
There are 4 pre-defined templates for Shopify tax reports in Mipler: monthly collected taxes (see the example mentioned above), tax details (more on that later), and 2 location-centered reports, including taxes by state (or region) and taxes by country.

Inside the report, you can do a lot of adjustments similarly to how you would navigate an excel sheet: create pivot tables to aggregate the most valuable data, edit columns, freeze them, sort by any available column (for instance, by the number of orders or by the total tax amount), and set various filters.
This might be of great help if you're targeting different countries or regions—the report will visualize the dynamics of net sales and taxes generated for each particular location.
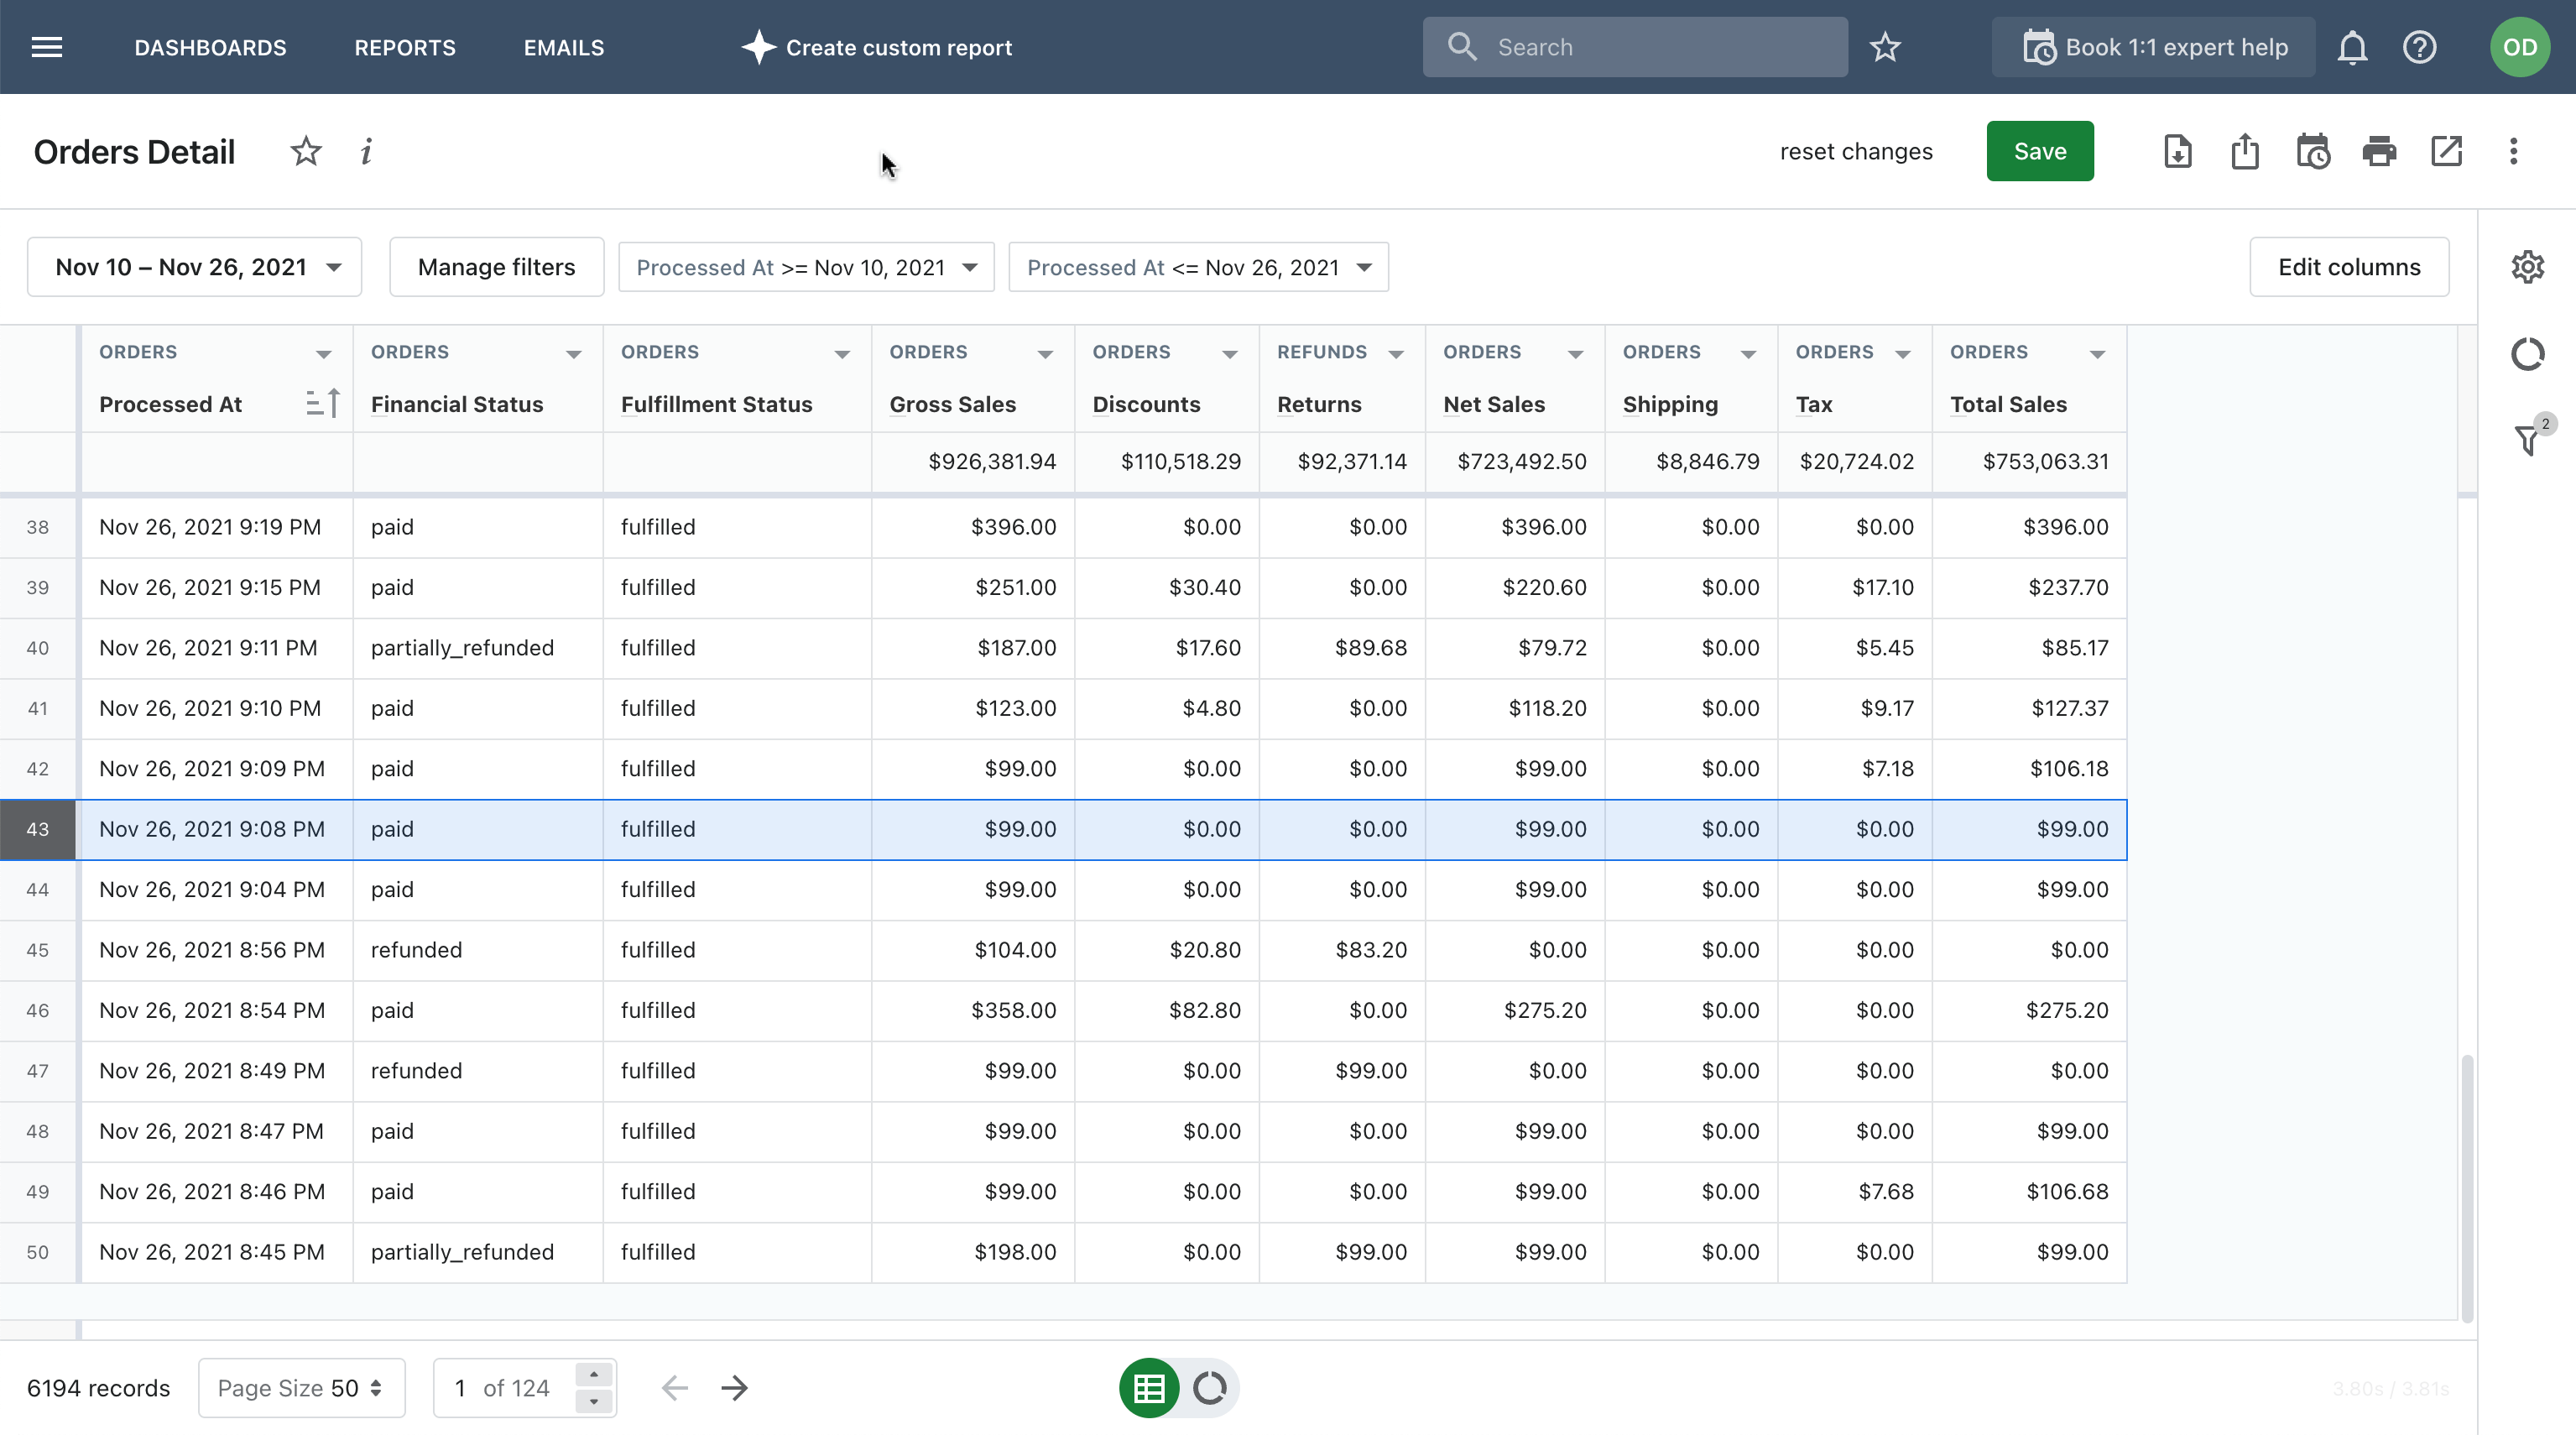
▷ You can incorporate order return information into your overall tax report. As we've mentioned, Shopify doesn't include it automatically, and you need to manually combine your refund information with taxes.
Mipler can help you customize the table by adding corresponding columns:

▷ You can include or view separately taxes imposed on shipping.
▷ You can create sales reports with tax-specific data, for example, sales numbers by tax rate.
When you extract the essential tax information in Mipler, you can export the document with one click. For example, you can easily control and adjust the tax rate as it might be subject to change.
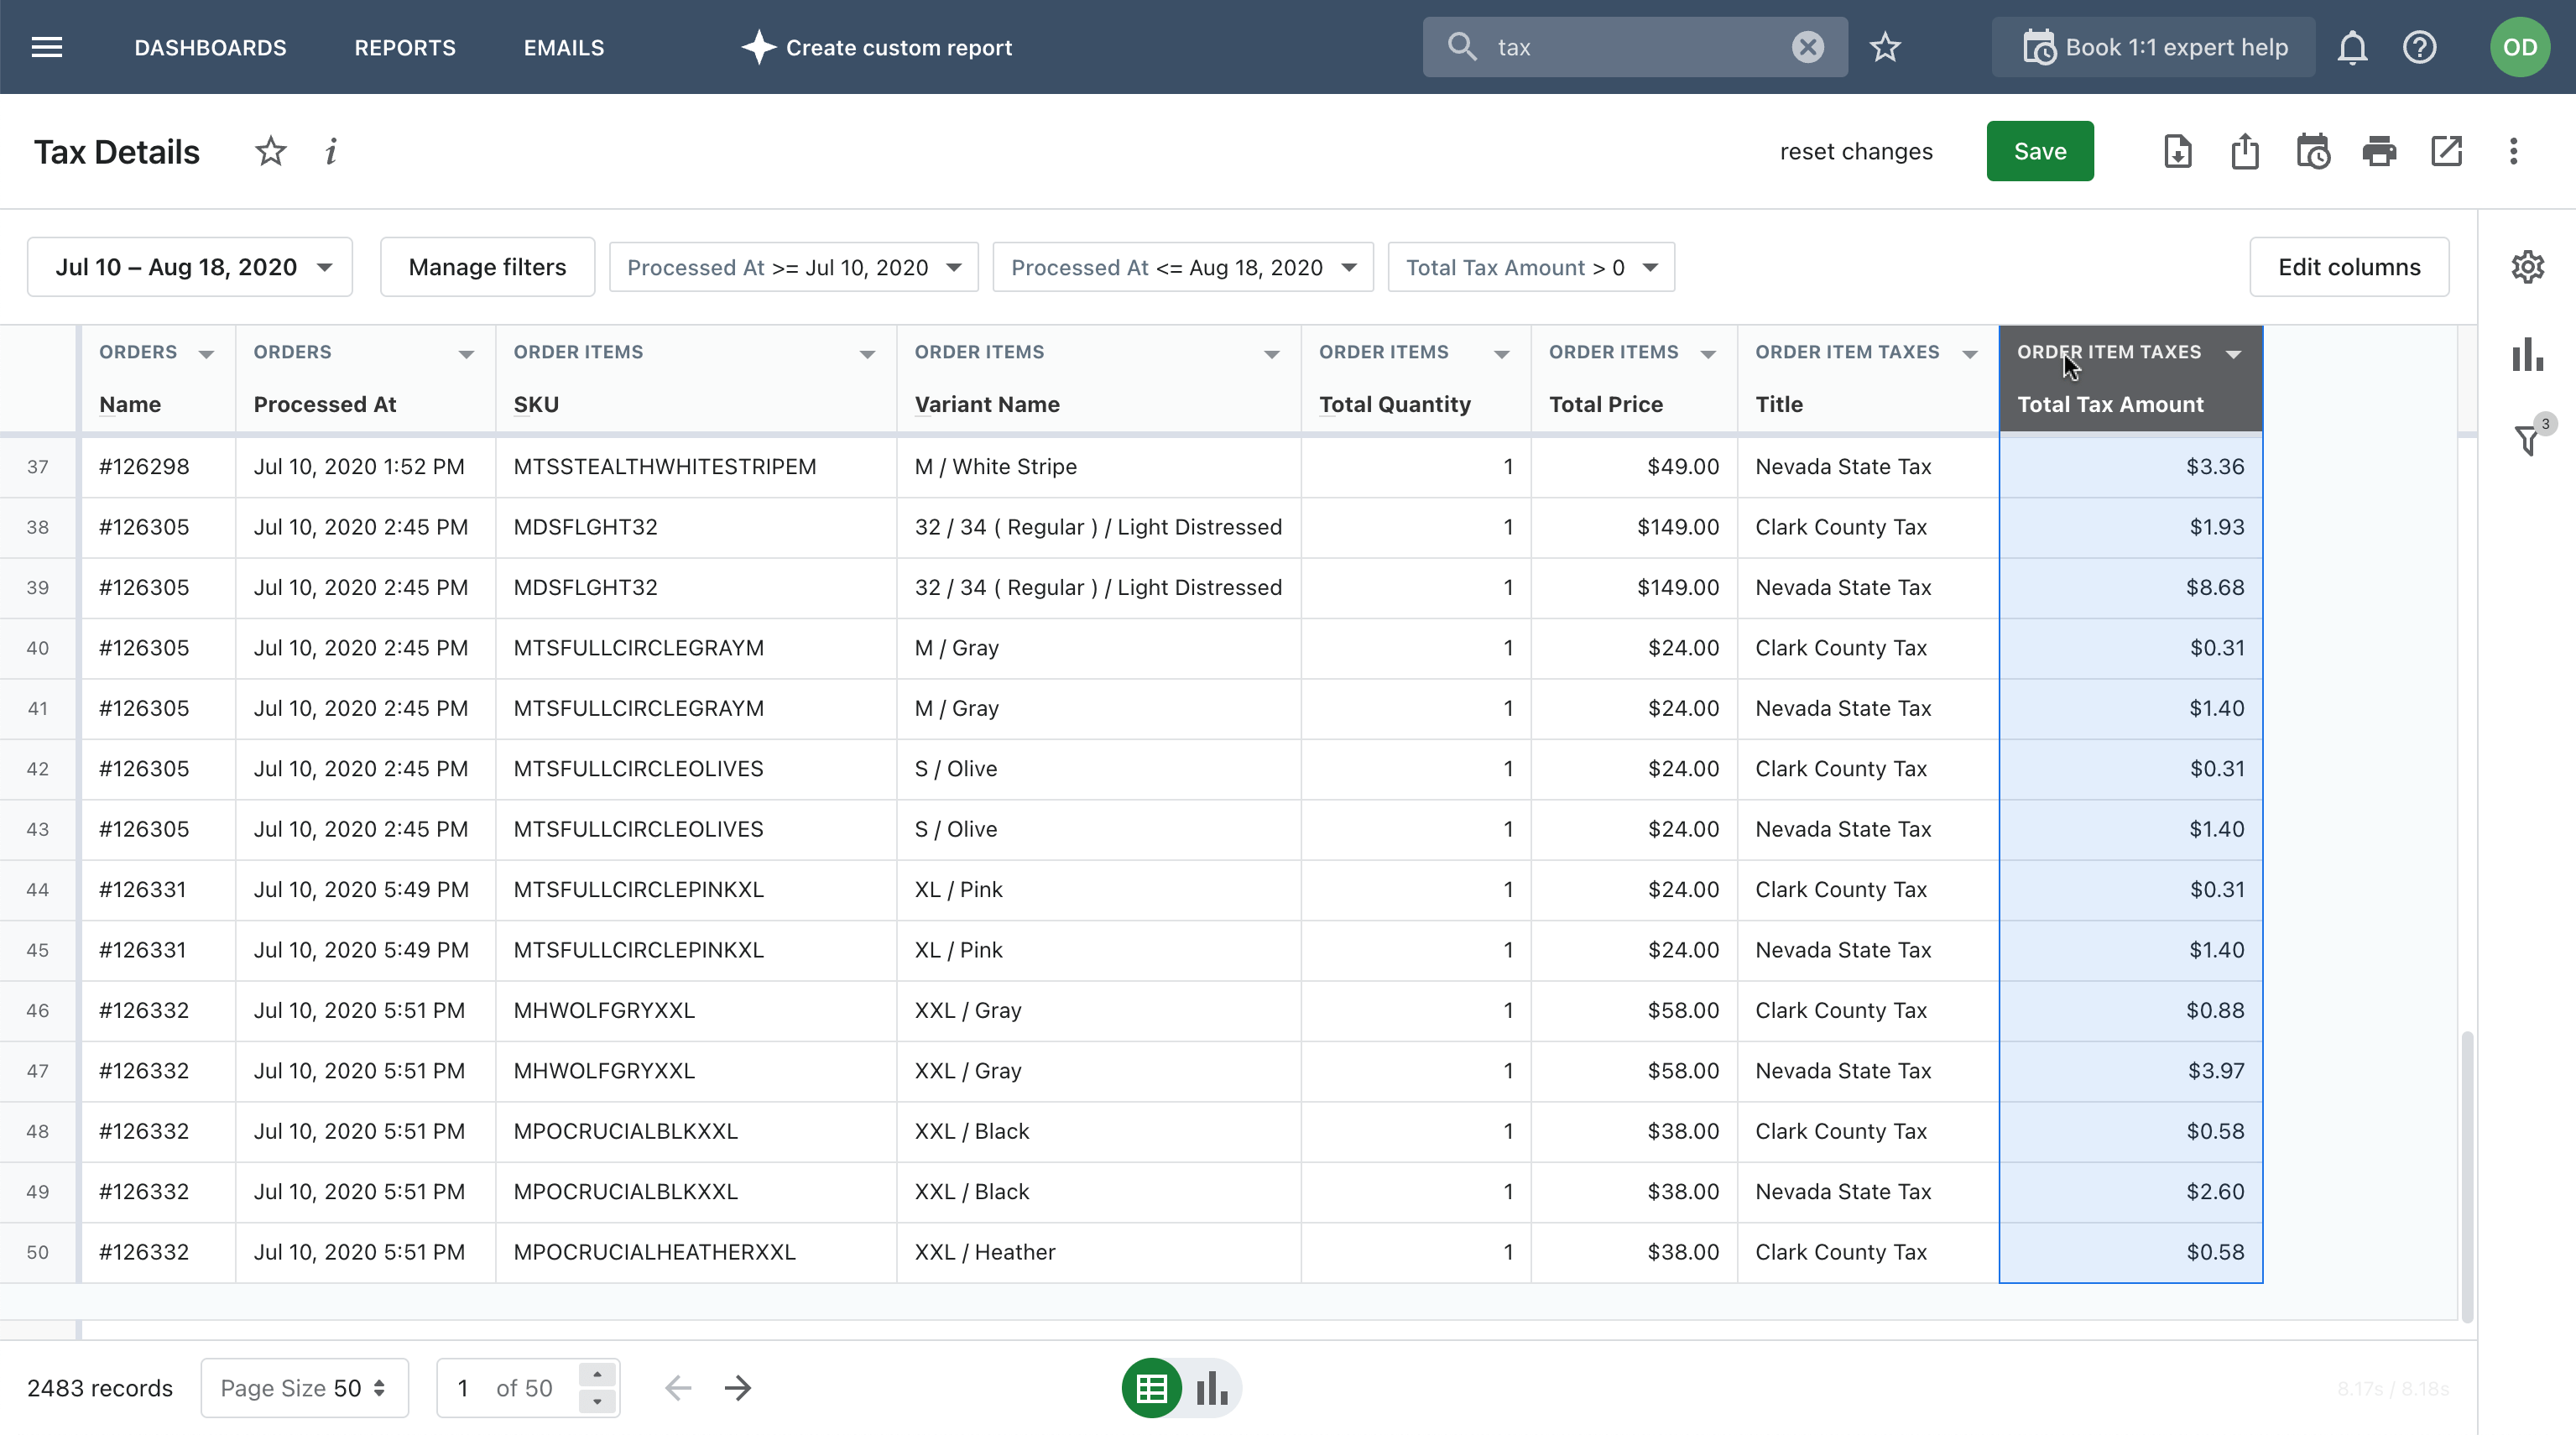
▷ You can consolidate order information with the details on different items included in orders. This will help you easily deal with items that are not unified in taxability.
If you have orders that combine products with different taxes, it might be hard to understand tax data on product level. Mipler's Tax Details report template includes data on product variants and SKUs, while you can also add other columns with relevant details.

▷ You can create an overview of total taxable and non-taxable sales per individual transaction.
Besides modifying and filtering pre-defined fields in Mipler, you can tailor the report to your business with even greater precision — think of your customization requirements and discuss them with our support team.
∵ ∵ ∵ ∵ ∵ ∵ ∵ ∵ ∵ ∵ ∵ ∵ ∵ ∵ ∵ ∵
With the right tool, you can create more flexible tax reports for your Shopify store and control your taxes more easily. You can't automate all tax-related processes for 100% as you'll need to handle the filing of Shopify sales tax and income tax, but you can battle the limitations in a native Shopify report by modifying its fields and cross-referencing them with additional data you might need.
We want to provide value for all our customers. Start with a call to discover how we can help your business.